Shanghai Songjiang Vibration Absorber Group Co., Ltd. official website introduces the information on the 【Training】Rubber Expansion Joints Hydraulic Pressure Testing Machine Procedure. Songjiang Group is an integrated enterprise engaged in the research, production, and sales of rubber expansion joints products, committed to providing customers with quality products and peace of mind in usage.
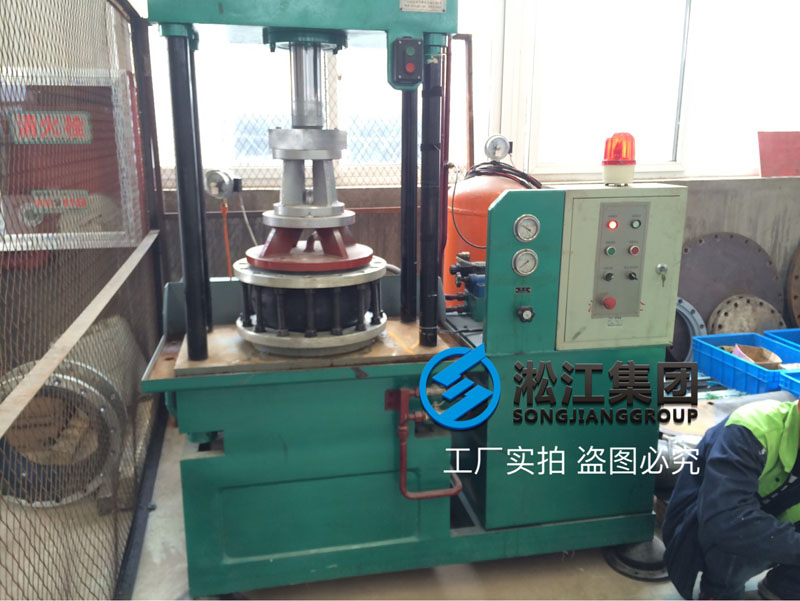
Rubber Expansion Joints Hydraulic Pressure Testing Machine Procedure
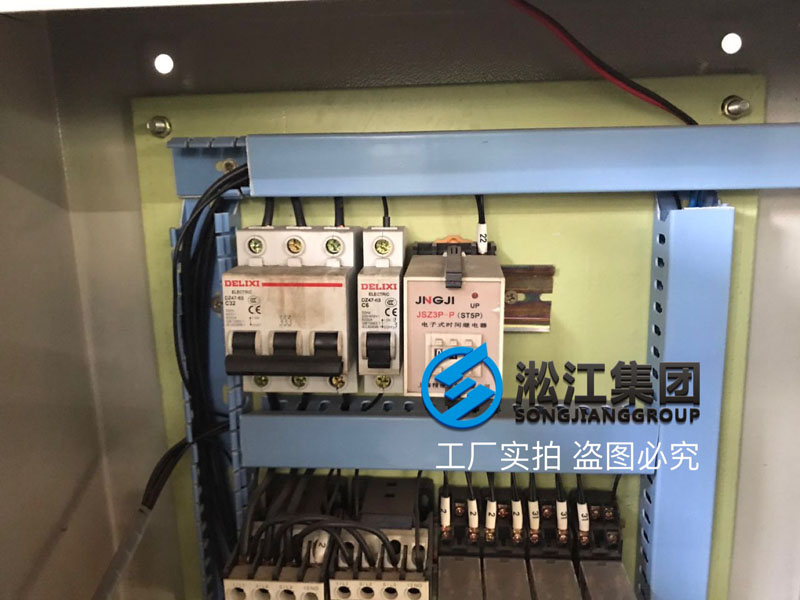
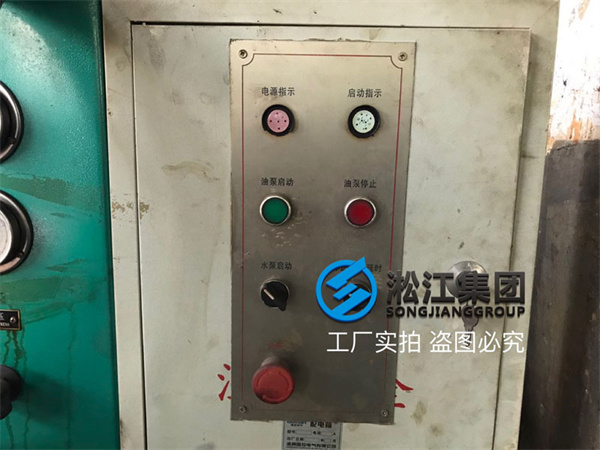
Power On: Open the door of the hydraulic press cabinet, turn on the two circuit breakers located in the upper left corner, one for the water pump and the other for the hydraulic press.
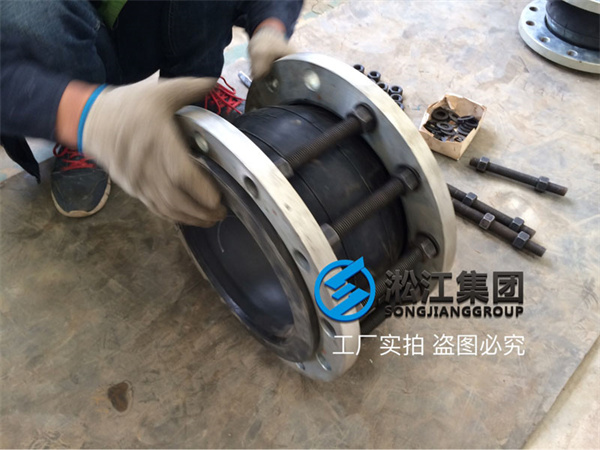
Placement of Products: Position the prepared test products at the center of the hydraulic test bench.
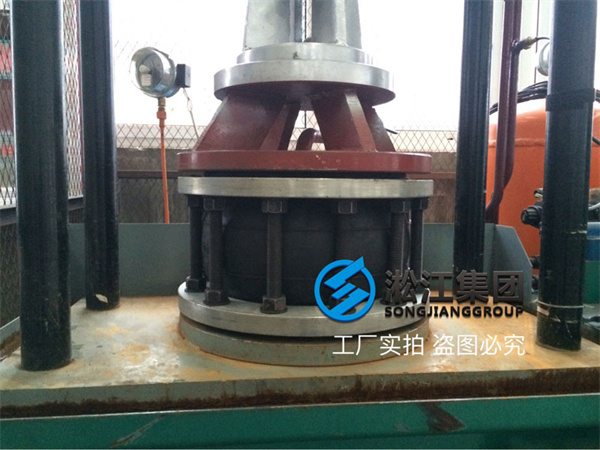
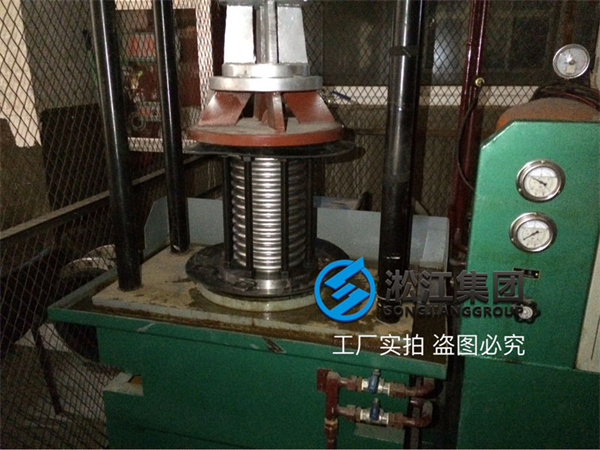
Start Oil Pump: Press the start button for the oil pump located above the cabinet, then operate the switch controlling the pressure platform’s ascent and descent.
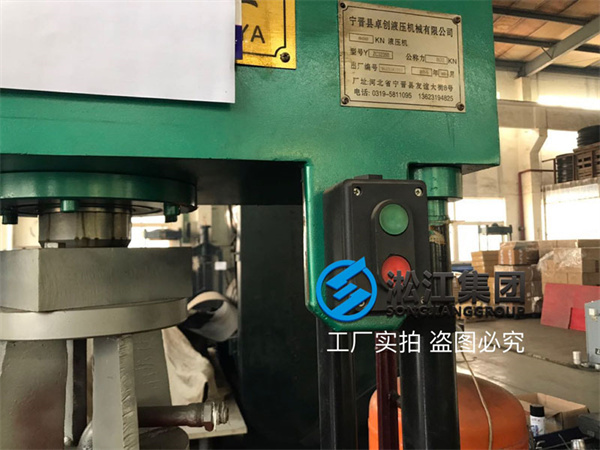
Lowering the Platform: Use the switch located in the upper right corner of the column; press the red button to lower the platform until it aligns and firmly presses against the test
.
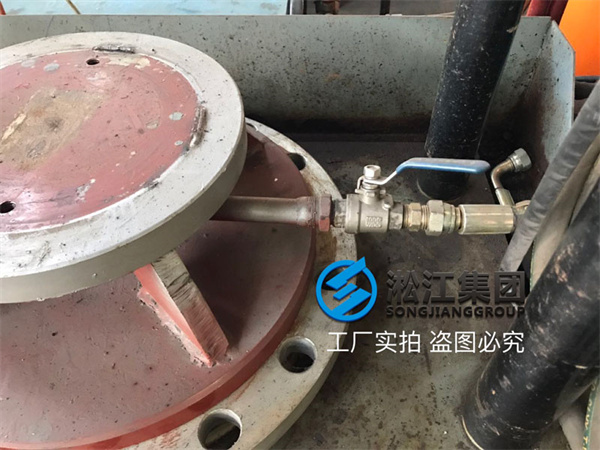
Water Injection: Below the pressure platform, there are two water pipe valve switches. The upper one is for injecting water into the product, while the lower one is for draining water from the product. Start by closing the lower drainage switch by turning it left, then slowly open the upper switch to the right to allow water to slowly fill the test product. Once the product is filled with water, air will be expelled through a vent valve located on the cover of the testing platform, indicating that air has been completely removed from the test product.

.
Water Injection for Pressure Testing: Slowly open the water injection valve further to the right, and observe the pressure gauge located at the rear left of the machine. Close the water injection .
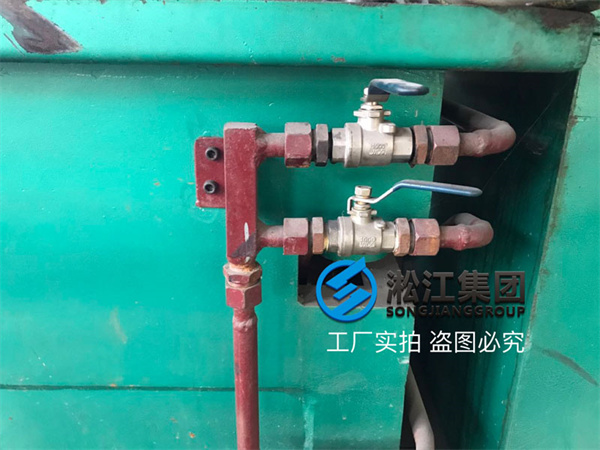
- Drainage: After maintaining pressure for a certain period, slowly open the drainage valve located below to release the internal water pressure of the product.
- Venting: Open the vent valve located on the cover of the testing platform to facilitate the quick release of water from the inside of the product.
- Start Oil Pump: Turn on the start switch for the oil pump on the control cabinet.
- Raise the Platform: Press and hold the green upward switch located in the upper right corner of the column until the testing platform is completely raised, then release the switch.
- Turn Off Oil Pump: Turn off the start switch for the oil pump on the control cabinet.
- Power Off: Open the control cabinet door, turn off the two circuit breakers located in the upper left corner, and then close the cabinet door.”


