Installation Instructions for SHM Adjustable Damping Spring Isolators
Before installation, please confirm that the model and specifications of the spring shock absorber are correct.
Tools required: Metric wrenches in sizes 19mm (M12), 24mm (M16), and 32mm (M22), claw-type jack.
Do not remove the pressure pads of the shock absorber until the height adjustment is completed.
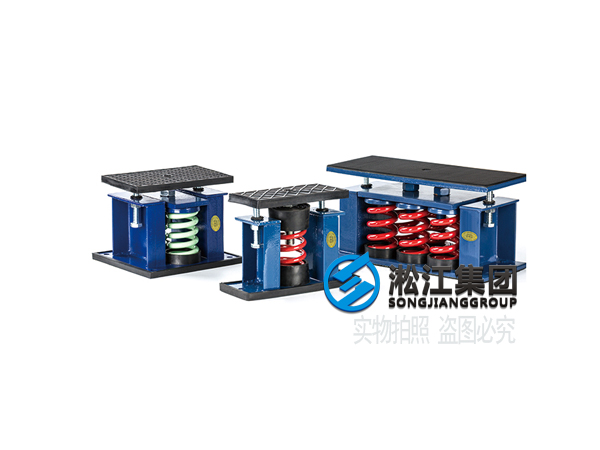
First, confirm the positions of the foundation bolts with the locations of the installation.
After placing the spring shock absorber at the installation position, remove the positioning pins first (as shown in Figure 1).
Figure 1) Remove the positioning pins and secure the height with wooden blocks.
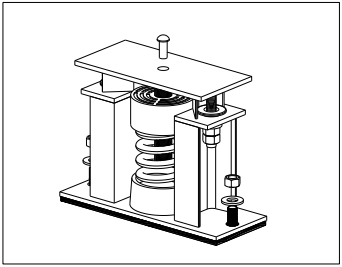
Secure the shock absorber to the equipment using M12 fixing bolts, but do not tighten them (as shown in Figure 2).
Figure 2) Secure the spring vibration absorber to the equipment using M12 bolts, but do not tighten; simultaneously secure the spring shock absorber using foundation bolts.
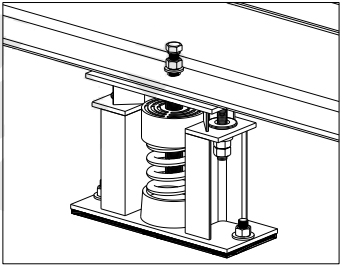
Secure the shock absorber to the ground using foundation bolts and temporarily support the height with wooden blocks.
When adjusting the height of the spring shock absorber, first loosen both lock nuts on the opposite sides by 5~10mm and tighten them in relation (as shown in Figure 3).
Figure 3) When adjusting the spring vibration absorber excessively, first loosen the lock nuts on both sides by 5-10mm and tighten them relative to each other.
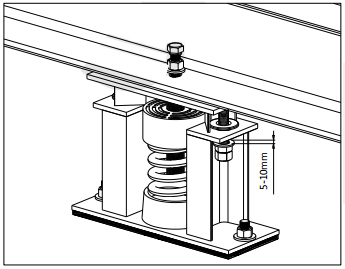
Use a 32mm metric wrench to adjust the M22 bolt counterclockwise to compress the spring and raise the top cover of the spring vibration absorber (as shown in Figure 4).
Figure 4) Use a metric open-end wrench to adjust the bolt counterclockwise, causing the spring to compress and the top cover of the spring vibration absorber to rise.
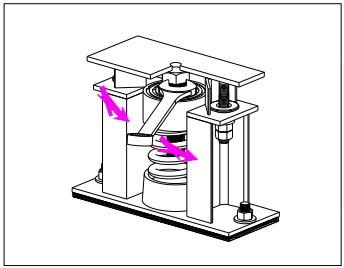
When the pressure pads can be removed, stop adjusting and remove the wooden blocks (as shown in Figure 5).
Figure 5) When the top cover of the spring vibration absorber rises, and the pressure pad can be removed, the adjustment is complete, and the wooden block can be removed.
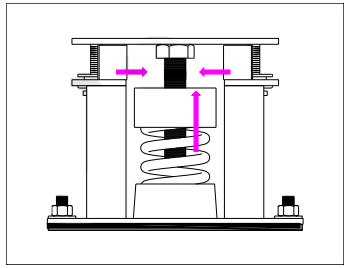
Completely tighten the M12 bolts securing the equipment, thus completing the installation adjustment (as shown in Figure 6).
Figure 6) Once the bolts are fully tightened to the equipment, the installation adjustment of the spring shock absorber is complete.
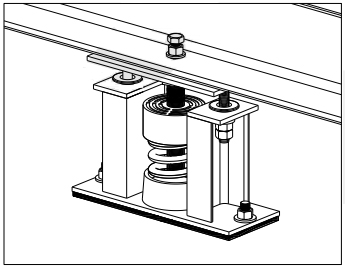
After installation, please check the amount of compression on the spring. If the spring is fully compressed, it indicates insufficient load and no shock absorption effect. Consider replacing with a larger load specification, and please contact our company personnel.
During installation, please pay attention to safety.
Maintenance Checklist: Monthly observation to ensure the fixed bolts and foundation bolts are tight, maintain the installation status of the vibration absorber, and ensure that the spring deflection is normal.
Related links:SHM Type Adjustable Spring Vibration Isolator for Cooling Towers


